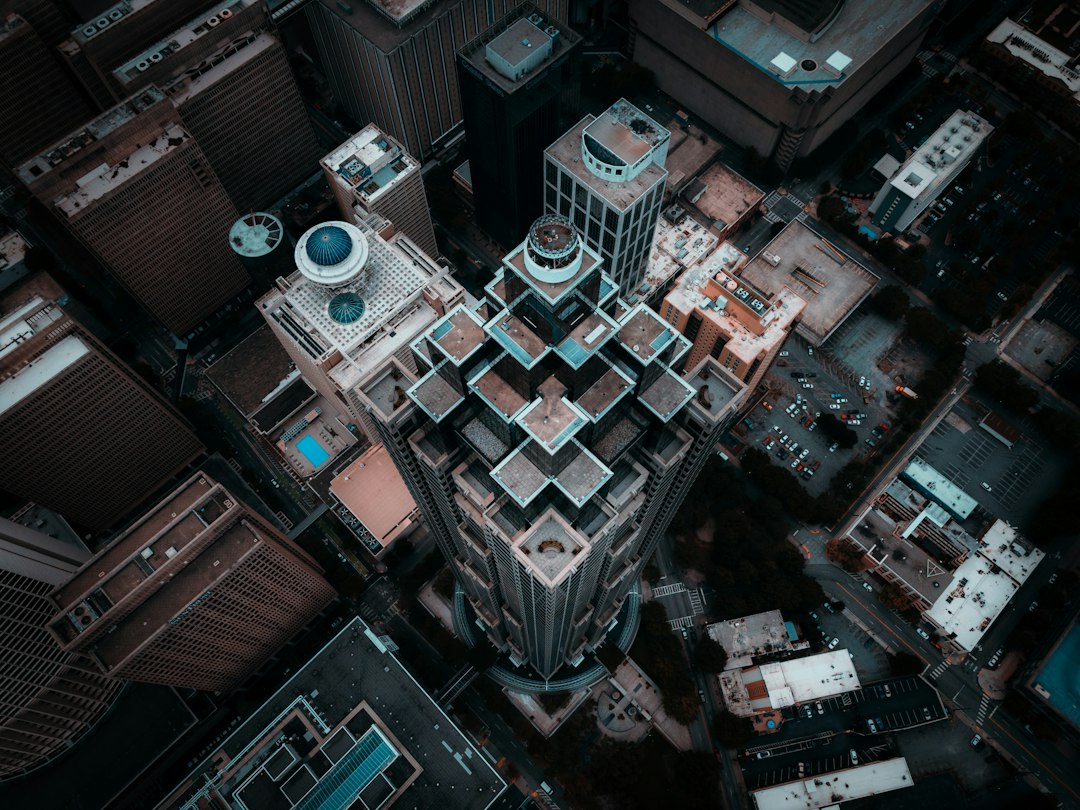
A 3D model from drone photos comes from photogrammetry: hundreds of overlapping photos, taken from above and from angles around the subject, matched by software into a point cloud and a textured mesh. The flight plan decides the quality. A straight-down grid gives you a surface; orbits with a tilted camera give you walls.
Most failed models are decided before processing starts. The software can only rebuild what at least a few photos saw clearly, from different positions, in similar light. If a wall was never photographed at an angle, it will be missing or smeared, and no processing setting brings it back.
Table of contents
- How a 3D model from drone photos is made
- Match the flight pattern to the subject
- Count the photos before you fly
- Camera settings and conditions
- The rules change when you orbit a building
- How to read a bad model
- Accuracy: looking right versus measuring right
- Selling measurable models can count as surveying
- What to hand the client
- Making the model inside DroneBundle
- FAQ
How a 3D model from drone photos is made
Photogrammetry software matches the same features across overlapping photos, works out where each photo was taken, and triangulates the matches into a dense point cloud. It then wraps the cloud in a mesh and paints it with colour from the photos: the textured model clients spin around in a viewer. Our guide to drone photogrammetry software compares the processing tools in detail.
One distinction matters more than any software choice.
A grid flown with the camera pointing straight down (nadir) produces a 2.5D surface. Every spot on the ground has one height, so roofs and terrain look right but walls are stretched curtains and anything under an overhang is filled in. That is fine for an orthomosaic, a stockpile volume, or a site surface. A true 3D model, with walls, eaves, balconies and the underside of a canopy, needs oblique photos taken at an angle.
Two other routes exist. LiDAR measures geometry directly with laser pulses and sees through gaps in vegetation, at many times the cost; LiDAR for drones covers when it pays off. Video modelling pulls frames from an orbit video. It is quick, but a 4K frame is about 8 megapixels of compressed video against 20 or more in a still, with positions in a separate subtitle file. For measured work, stills are the safer input.
Match the flight pattern to the subject
The right capture plan depends on the shape of the subject: flat things need a grid, buildings need orbits, and tall thin structures need tight rings at many heights. The table below condenses Pix4D's image acquisition guidance into field terms.
| Subject | Pattern | Camera angle | Overlap |
|---|---|---|---|
| Open site, stockpile, earthworks | Single grid | Nadir | 75% front, 60% side |
| House or low commercial building | Nadir grid plus two or three orbits | Tilted so the building fills most of the frame, flatter as orbits go higher | One photo every 5 to 10° on each orbit |
| Block of buildings, street frontages | Double grid (two perpendicular passes), or an automated oblique mission | Oblique, so every facade direction is seen | 75% front, 60% side |
| Tower, mast, chimney, pylon | Tight orbits stacked at several heights | Aimed at the structure, mostly level | About 90% within a ring, 60% between rings |
| Forest or dense vegetation | Grid flown higher than usual | Nadir | At least 85% front and side |
A few practical notes sit behind that table.
Fill the frame with the subject. Pix4D's advice is to tilt the camera so most of each photo is the thing you want modelled, and it notes there is no single pitch angle that suits every mission. Sky and distant background give the software nothing useful to match and can produce floating junk around the edges.
Keep orbit heights close together. Pix4D recommends not more than doubling the flight height between passes, because photos at very different heights have very different detail and match poorly. An orbit at 30 m and a nadir grid at 60 m will tie together. A 30 m orbit and a 120 m grid often will not.
Use the planner if your drone has one. The Mavic 3 Enterprise offers Smart Oblique Capture, which swings the gimbal between angles during the flight so that two routes collect the oblique views a block model needs. For a single building, a point-of-interest orbit with interval shooting does the same job as a ring. Good flight planning is where the model is really built.
Count the photos before you fly
A typical building model needs somewhere between 150 and 400 photos: about 72 per orbit at 5° spacing, or 36 at 10°, plus a small nadir grid to tie the roof and the ground together. Working the number out before the site visit tells you how many batteries to bring and whether the set fits your processing tool.
Here is a worked example for a two-storey commercial building roughly 30 by 20 metres, flown with a Mavic 3 Enterprise:
- Three orbits at 5° spacing: 3 × 72 = 216 photos. The first low with the camera tilted so the walls fill the frame, then higher and flatter.
- Nadir grid at 60 m: DJI gives the wide camera's ground sample distance as height in metres ÷ 36.5 (in centimetres), so 60 m gives about 1.6 cm per pixel and a footprint of roughly 87 by 65 metres. At 75% front and 60% side overlap, photos land every 16 m along lines spaced about 35 m apart. Covering a 120 by 100 metre box around the building takes four or five lines and about 40 to 50 photos.
- Total: roughly 260 photos, or about two batteries with margin.
If the building has a courtyard, an inset entrance, or rooftop plant you need in detail, add a low orbit or a few manual photos aimed into those spots. Recesses are where models go hollow.
Processing limits matter too. Desktop tools are bounded by the computer's memory, and cloud tools usually cap photos per job or bill by volume. A 260-photo set fits comfortably in most; a 2,000-photo campus usually needs splitting into sections that share an overlapping strip.
Camera settings and conditions
Sharp, evenly lit photos matter more than megapixels. Blur and shifting shadows both break the feature matching that the model depends on.
- Shutter speed: fast enough that edges stay crisp at your flight speed; check a few frames at full size before flying the rest. If the drone has a mechanical shutter, use it; rolling-shutter distortion bends straight edges on a moving aircraft.
- Overcast beats sunshine. Flat light removes hard shadows that move between orbits and hide detail under eaves. A cloud bank passing halfway through leaves visible light seams across the texture.
- One session, one light. Pix4D's multi-flight guidance asks for the same sun direction and conditions across flights. An orbit flown at 9 am and a grid at 3 pm will fight each other.
- Wind moves trees, flags and tarps, which turn into blobs. Check the hourly forecast with weather integration; our notes on weather for drone operations cover the limits.
- Exposure: lock it on the subject so brightness doesn't swing as the orbit passes in and out of the sun.
The rules change when you orbit a building
Orbiting a structure raises three Part 107 issues a nadir grid usually avoids: the drone goes out of sight behind the building, it may climb above 400 feet, and the orbit often passes over sidewalks and car parks with people in them.
Visual line of sight. Under 14 CFR 107.31, the remote pilot or a visual observer must be able to see the aircraft throughout the flight. On a full orbit of anything larger than a house, the far side is hidden from a single launch point. Either place a visual observer who can see the far side and talk to the pilot, fly the orbit as two half-orbits from two launch points, or, on orbits flown above the roof, stand far enough back that the drone stays visible over the roofline. Our guide to visual line of sight covers observer setups.
Altitude near structures. 14 CFR 107.51 allows flight above 400 feet AGL only within a 400-foot radius of a structure and no higher than 400 feet above its highest point. That helps on a tall tower, but the allowance ends 400 feet from the structure, so any part of the plan beyond that radius, including the outer lines of a wide nadir grid, stays under 400 feet AGL.
People below. Section 107.39 prohibits flying over people who aren't part of the operation unless they are under cover, in a stationary vehicle, or the operation meets one of the over-people categories. An orbit around a shop or office passes over entrances and pavements. Schedule early, cone off the entrances, or use a drone eligible for the category you need and follow that category's limits.
Privacy is the soft edge. A low orbit with a tilted camera looks straight into windows, including the neighbours'. Tell the occupants when you are flying, and leave out or blur views into other properties before anything is shared. The Part 107 guide covers the rest of the rulebook, and the flight logs of each orbit are the record of where the drone actually went if a neighbour later asks.
How to read a bad model
Every common defect in a drone 3D model points back to a specific capture problem, so the fix is usually a reflight of part of the subject, not a different processing setting.
| What you see | Likely cause | Fix |
|---|---|---|
| Holes in walls, missing eaves | Too few oblique photos saw that surface | Add a lower orbit or manual photos aimed at the gap |
| Walls melted or draped like a sheet | Nadir-only capture | Fly orbits with a tilted camera |
| Glass, metal roofing and water full of spikes or holes | Reflections change with every viewpoint, so nothing matches | Fly overcast, add more angles, accept that glass will need cleanup |
| Thin things (railings, antennas, cables) missing or fuzzy | Smaller than a few pixels in most photos | Fly closer for those parts; very thin objects are a LiDAR job |
| Floating blobs around the model | Sky, distant background or moving objects in frame | Tilt to fill the frame with the subject; clean up the mesh |
| Ghost cars, people or doubled trees | Things moved during the flight | Fly when the site is quiet; trim them out |
| Light and dark patches across the texture | Light changed between flights | Fly every pass in one session under consistent light |
| Flat site bends up or down at the edges ("doming") | Parallel nadir-only grid with the camera self-calibrating | Add oblique photos and use ground control |
The doming effect is explained in James and Robson (2014). Their simulations of near-parallel image networks traced it to camera self-calibration misjudging lens distortion, and found that adding oblique images could cut the elevation error by up to two orders of magnitude when no ground control was used. It matters most on long, flat sites where nobody notices a bowl until the volumes come out wrong.
The cheapest fix is a coverage check before leaving site. A quick low-resolution test run, or a look at the photo positions, shows the side you forgot.
Accuracy: looking right versus measuring right
A drone 3D model can look perfect and still sit well away from where the building really is. Relative accuracy, meaning distances within the model, depends on overlap, image sharpness and camera calibration. Absolute accuracy, meaning where the model sits on the Earth, depends on the drone's GPS unless you add correction.
Most building models are used for relative measurements: a facade height, a roof area, a parapet length. For those, consistent overlap and a scale check against one taped distance are enough. When the model has to line up with a survey, a design file or last month's scan, it needs RTK or PPK positioning, ground control points, or both. Real-time kinematic positioning explains how RTK correction works.
If a client writes an accuracy number into the contract, use the language of the ASPRS Positional Accuracy Standards: RMSE measured against independent checkpoints that were not used as control. A 1 cm RTK spec describes the antenna position, not the finished surface, so agree the check method before quoting a number.
Selling measurable models can count as surveying
In some US states, selling a 3D model or map that clients use for measurement is treated as land surveying, which requires a licence. In 360 Virtual Drone Services v. Ritter, North Carolina's surveying board took the position that offering aerial maps and 3D models containing measurable data without a licence was unlicensed surveying. The Fourth Circuit rejected the operator's First Amendment challenge in May 2024, and the Supreme Court declined to hear the case on April 20, 2026.
This doesn't stop you making models. A model for visual inspection, marketing, insurance or progress documentation is a different product from a boundary, topographic or as-built survey. The risk sits in how the deliverable is described and used. Three workable setups:
- Fly under a licensed surveyor who takes responsible charge of the measured deliverable.
- Sell the capture and the raw model to a survey firm as a data subcontractor.
- Sell non-survey deliverables and label measurements as approximate, not for design or boundary use.
Avoid "survey-grade" in marketing unless a licensee signs off. Rules vary by state, so check with your state board before quoting measured work. Drone surveying software covers this in more depth for firms that do want to sell surveys.
What to hand the client
Most clients want a link they can open in a browser, not a 2 GB OBJ file. Ask what they will do with the model before choosing formats, because a facilities manager, an architect and a GIS analyst need different files.
| Client need | Format |
|---|---|
| Look around, show the board | Web viewer link, or GLB (single file, opens in most 3D viewers) |
| Edit in 3D or design software | OBJ with its texture images, or FBX |
| Measure, classify, compare in GIS or CAD | Point cloud as LAS or LAZ |
| Heights and drainage | DSM (surface) and DTM (bare earth) as GeoTIFF |
| Plan view for markup | Orthomosaic GeoTIFF |
| Proof of quality | Processing report with photo count, coverage and errors |
Keep the processing report with the job. It records how many photos were used, where coverage was thin and what accuracy the software estimated, which is what you will need if a measurement is challenged months later. Teams building a long-term asset record from repeat models can read our guide to creating digital twins with drones, and drone data processing covers processing hardware and output formats in more depth.
Making the model inside DroneBundle
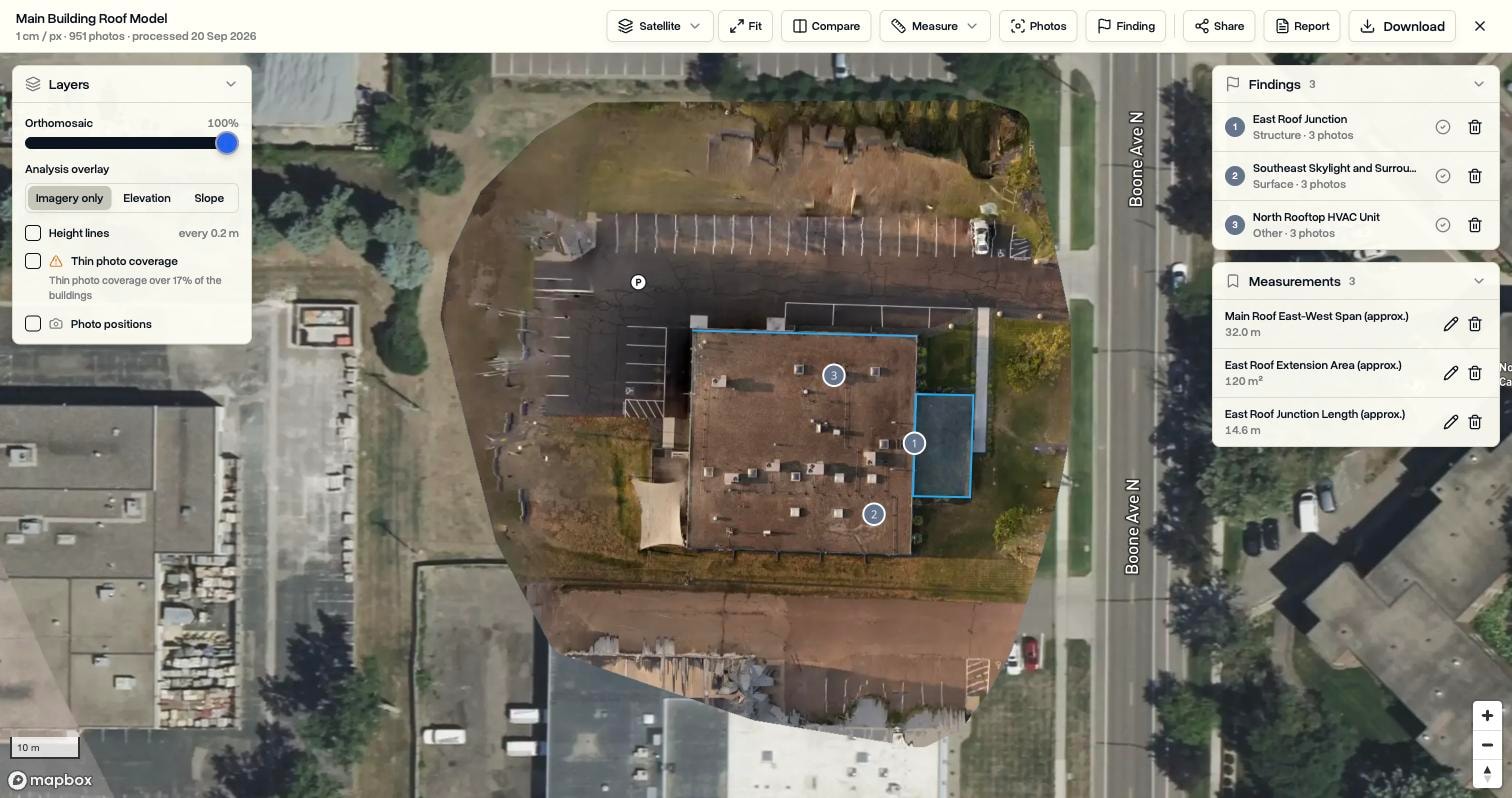
DroneBundle's 3D Scans builds the model inside the job the photos were flown for, so the flight, the photos, the model and the client report stay in one record. Upload the photos to the job, press Start 3D scan, and choose 3D model and map for a textured model you can view from any angle, or Map and measurements when a 2.5D surface is all the job needs.
A scan takes between 10 and 1,500 photos, so the 260-photo building above fits in one run. Photos without a location, or taken far from the rest, are set aside and listed rather than stopping the job. Areas of a structure seen by too few photos are flagged as thin coverage on the map, which tells the pilot which side to fly again before anyone measures from it.
Outputs are saved back to the job as ordinary files: the map, the point cloud, the surface model and the processing report, plus the terrain model and the textured 3D model when you choose 3D model and map. You can measure distance, area, height, profile, roof pitch and volume, pin findings with photos attached, and send a branded PDF or a share link that opens without an account. Client portal users see scans on their projects, and Data Ownership copies the files to your own cloud storage. The 3D Scans launch post walks through each screen.
Two scans in the same job can be compared side by side, which suits roof inspection follow-ups and construction monitoring for construction and infrastructure and surveying and inspection teams. 3D Scans is included on the Enterprise plan and in every free trial, using monthly credits of one per 100 photos: Enterprise workspaces get 200 a month and trials get 20. Plans are on the pricing page.
FAQ
How many photos do you need for a 3D model from a drone?
A single building usually needs 150 to 400 photos: two or three orbits at one photo every 5 to 10 degrees (36 to 72 photos per orbit) plus a small nadir grid. Large sites and complex structures can need over 1,000. Too few angles produces holes, which more photos from the same positions will not fix.
Can any drone make a 3D model?
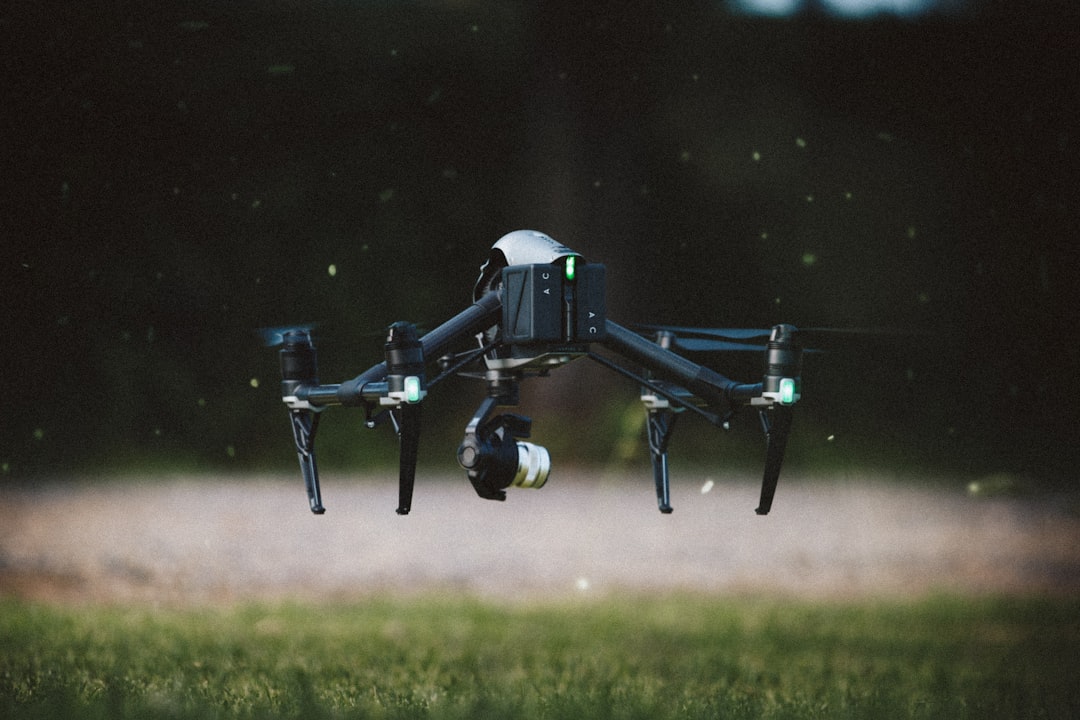
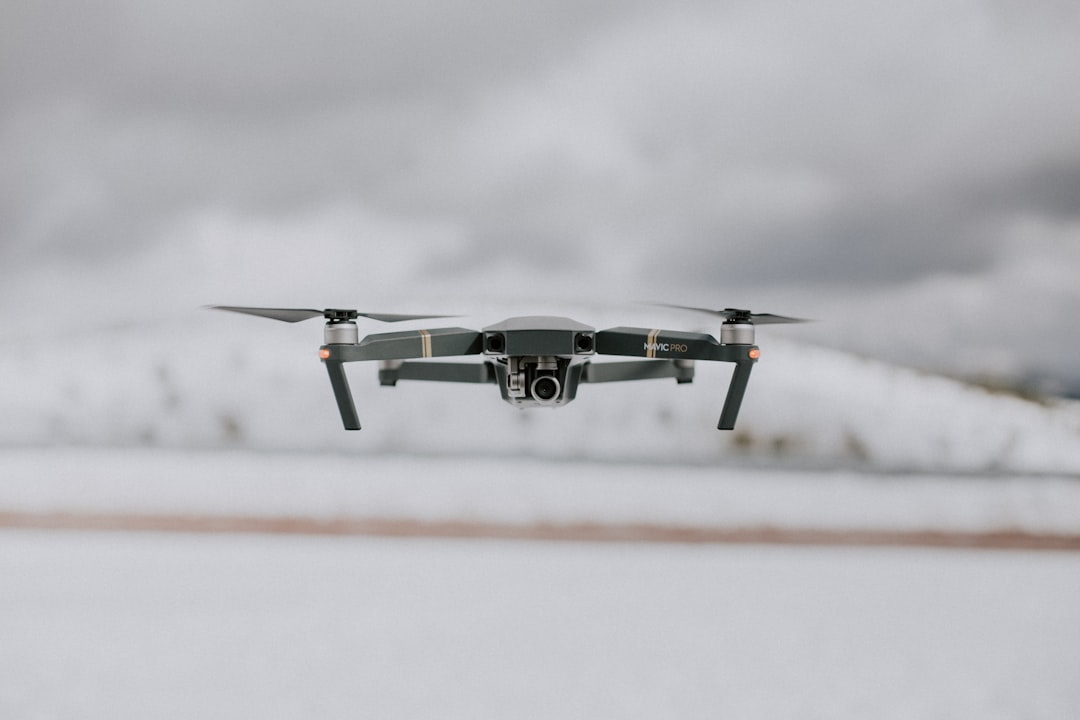
Any drone with GPS-tagged photos and a tilting gimbal can produce a usable model. Enterprise drones add mechanical shutters, RTK and oblique mission planners, which make capture faster and more accurate, but a consumer drone flown with interval shooting can still model a single building well.
What is the best camera angle for drone 3D modelling?
There is no single best angle. Tilt the camera so the building fills most of the frame on the first orbit, then fly higher with a flatter angle on each following orbit, and add a straight-down grid for the roof. For towers, keep the camera near level and stack orbits at several heights. The aim is to fill the frame with the subject.
Do I need a Part 107 certificate to make 3D models with a drone?
Yes, in the US, if the model is for a business purpose or a client. The FAA's guidance for commercial operators says flying a drone under 55 pounds for work or business is done under Part 107. Selling measured deliverables can also trigger state surveying licence rules.
Turn the photos you already fly into a model your client can open. DroneBundle builds the 3D model inside the job, flags the sides that need another orbit, and gives you a branded report or a link to send the client. Start your free trial with 20 scan credits, or book a live demo to see a building go from photos to finished report.