Make a map from drone photos
Pick the photos on a job and start processing. DroneBundle builds a map you can measure, a 3D model and, from thermal photos, a temperature map.
The photos already sit on the job they were flown for, so that is where maps are made. They never leave the job, and the finished map, 3D model and processing report are saved to it as files.
Before you start
- Upload the photos to the job first. A zip file works too. Flying with a DJI controller? The DroneBundle app uploads the photos and starts the map for you, see Upload drone photos from your DJI controller.
- You need at least 10 photos, with location data, taken over the site.
- Each map uses processing credits: one credit per 100 photos. Your plan includes credits every month, and a failed map gives its credits back. Running low? Buy more under Settings, then Billing, in Processing credits. Bought credits never expire. See Your plan, free trial and billing.
Start the map
- Open the job and click the Maps tab.
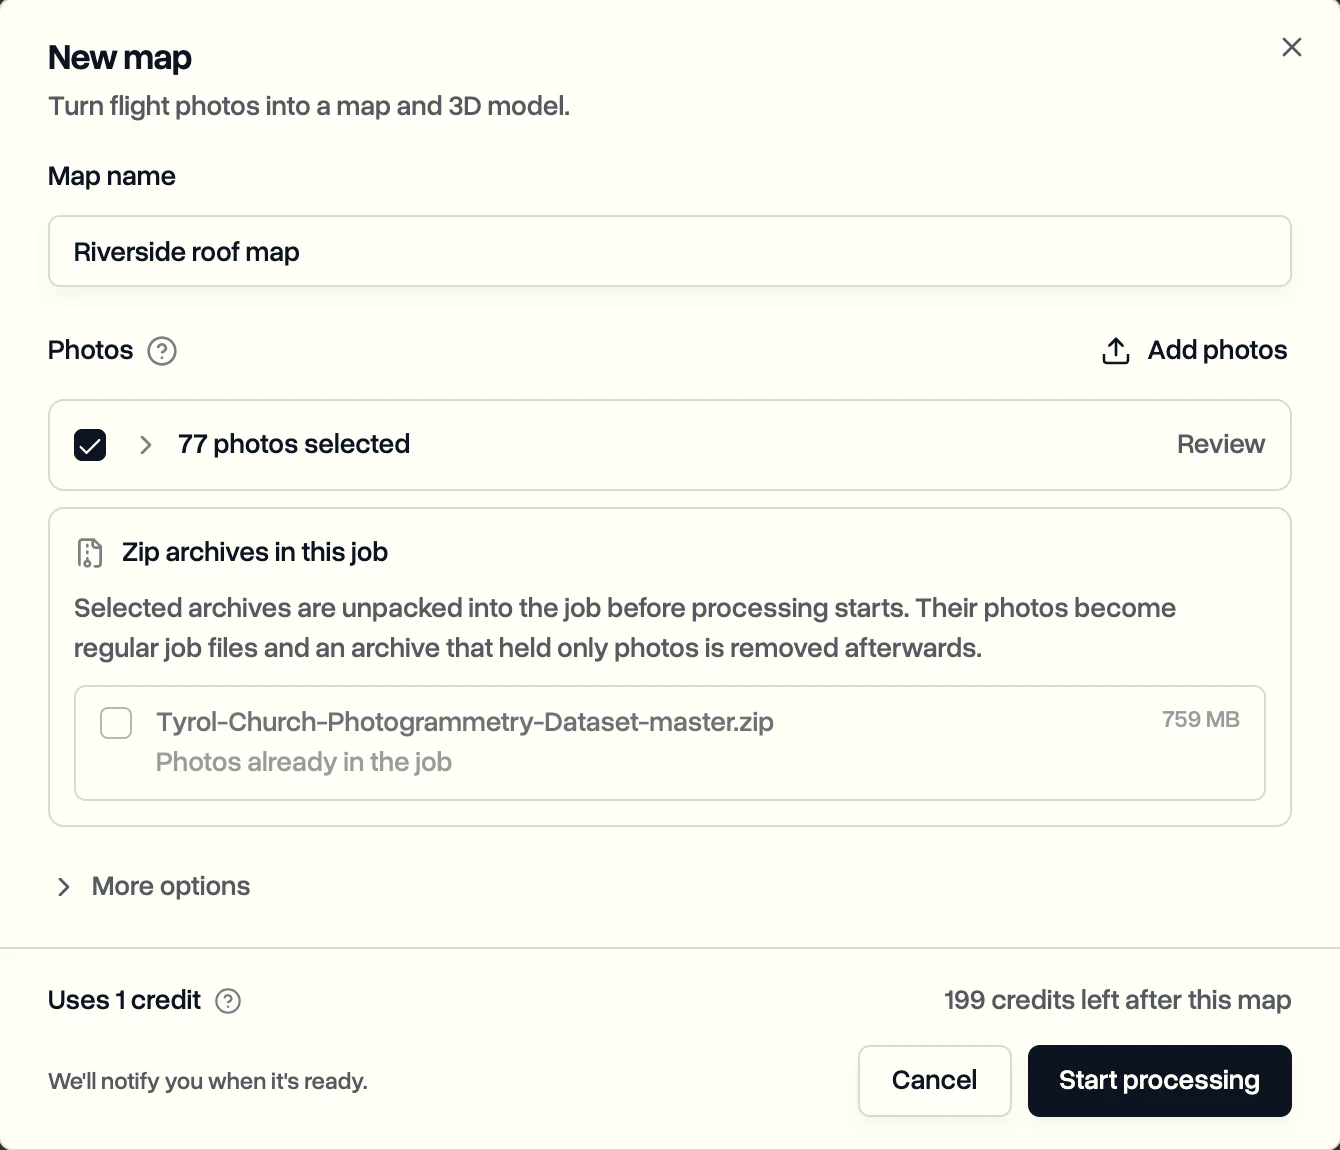
- Click New map.
- Check the Map name. It starts with the job's name.
- Every photo on the job is selected. Click Review to leave out groups or single photos you don't want in the map. The bottom of the dialog shows how many credits the map uses.
- Click Start processing.
If the job has both regular and thermal photos, the button says Start both maps and you get a map and a matching thermal map. If you uploaded a zip, it says Unpack and start.
When it's ready
You get a notification when the map is ready, usually within an hour or two, or a message saying why it failed. Every map in the workspace is also under Drone Mapping in the sidebar.
The map opens full screen over satellite imagery, with elevation and slope overlays and a dot where each photo was taken. Areas covered by too few photos are marked, so you know where detail is thin.
Next: Measure and share a map.
Last updated Nov 19, 2026
Did this answer your question?
Still stuck?
Ask DroneBundle AI in the app, or email us and a person will answer.