Drone solar panel inspection uses thermal and RGB cameras mounted on unmanned aircraft to detect hotspots, cell defects, and performance losses across photovoltaic systems in a fraction of the time manual methods require. A job that takes two months on foot for a 900,000-panel solar farm can be finished in five days with drones.
Solar energy capacity in the U.S. surpassed 200 GW in 2024, according to the Solar Energy Industries Association. Every one of those gigawatts needs regular inspection. For commercial drone operators, this represents one of the fastest-growing inspection verticals, with strong recurring revenue and high barriers to entry once you build the right expertise.
This guide covers the full picture: the technology, the defects you will find, the standards that govern valid inspections, the operational realities of running multi-site solar inspection programs, and the business side that most guides skip entirely.
Table of contents
- How drone solar panel inspection works
- Types of solar panel defects drones detect
- Equipment and payload requirements
- IEC 62446-3 compliance and why it wins contracts
- Flight planning for solar farm inspections
- Weather and scheduling constraints
- Running multi-site solar inspection operations
- Client deliverables and reporting
- Pricing and cost structure
- Insurance and liability considerations
- FAA regulations for solar farm drone flights
- FAQ
- Ready to scale your solar inspection operations?
How drone solar panel inspection works
Drone solar panel inspection combines automated flight paths with dual-sensor imaging to identify performance issues that are invisible to the naked eye. The process follows a consistent pattern across residential rooftops and utility-scale solar farms alike, though the scale and complexity vary dramatically.
The drone flies a pre-programmed grid pattern over the solar array at a fixed altitude, typically between 15 and 30 meters depending on camera resolution requirements. Two cameras capture data simultaneously: an RGB (visual) camera records the physical condition of each panel, while a radiometric thermal camera captures precise surface temperature measurements across every cell.
Thermal data is the core of the inspection. Healthy solar cells under load operate at roughly the same temperature. When a cell, string, or module has a fault, it generates excess heat that shows up as a bright spot in thermal imagery. The temperature difference (called delta-T) between a defective area and the surrounding healthy cells indicates fault severity. A delta-T of 10°C might be a minor concern worth monitoring. A delta-T above 20°C signals a serious defect that needs immediate attention.
After the flight, specialized software processes the thermal and RGB images into orthomosaic maps, individual panel reports, and defect catalogs with GPS coordinates. The entire workflow, from takeoff to final report, can cover 1 MW of solar capacity in roughly 10 minutes of flight time. Compare that to manual I-V curve tracing, which takes 2 to 5 hours per MW.
Types of solar panel defects drones detect
Thermal and visual drone inspections reveal a range of defects at the cell, module, string, and system level. Understanding what you are looking at in the thermal data separates competent inspectors from operators who just fly and collect images.
Hotspots
Hotspots are the most common thermal anomaly. They appear when one or several cells run significantly hotter than their neighbors. Causes include localized shading, soiling, poor solder joints, cracked cells, and failed bypass diodes. Severity depends on the delta-T: under 10°C is typically low risk, 10 to 20°C is moderate, and above 20°C requires prompt action.
Potential induced degradation (PID)
PID occurs when voltage differences between cells and the module frame cause leakage currents that degrade cell performance. In thermal images, PID shows a characteristic gradient pattern across affected modules. It can reduce output by 30% or more and often affects entire strings rather than individual cells. PID is one of the highest-value finds for asset owners because repair or mitigation can recover significant lost revenue.
String-level faults
When an entire string of panels appears uniformly warmer or cooler than adjacent strings, the issue is usually electrical rather than cell-level. Blown fuses, failed string inverters, loose connectors, or cable damage can take an entire string offline. These faults are easy to spot in thermal orthomosaics but nearly impossible to find during a manual walkthrough without testing every connection.
Bypass diode failures
Each panel typically has three bypass diodes that protect cells from reverse bias when shaded. When a diode fails (short or open), the thermal signature is distinctive: one-third of the panel runs at a noticeably different temperature. This is a defect that experienced drone inspection operators learn to identify at a glance.
Physical damage (RGB detection)
The visual camera picks up what thermal cannot: cracked glass, snail trails (discolored tracks from moisture ingress), delamination, frame damage, and junction box issues. Soiling patterns also show clearly in RGB data and help explain some thermal anomalies. Combining thermal and visual data in the same report gives asset owners the full picture.
Equipment and payload requirements
The right equipment setup depends on the scale of solar installations you plan to inspect. A residential rooftop operator needs different gear than a team covering utility-scale farms across multiple states.
Drone platforms
For solar inspection, you need a platform with at least 25 minutes of flight time, stable hovering in light wind, and the ability to carry a dual-sensor payload. The DJI Matrice 350 RTK paired with the Zenmuse H20T is the current industry standard for professional work. It combines a 640x512 radiometric thermal sensor with a 20MP visual camera in a single gimbal. Total investment: roughly $15,000 to $20,000 for the aircraft and payload.
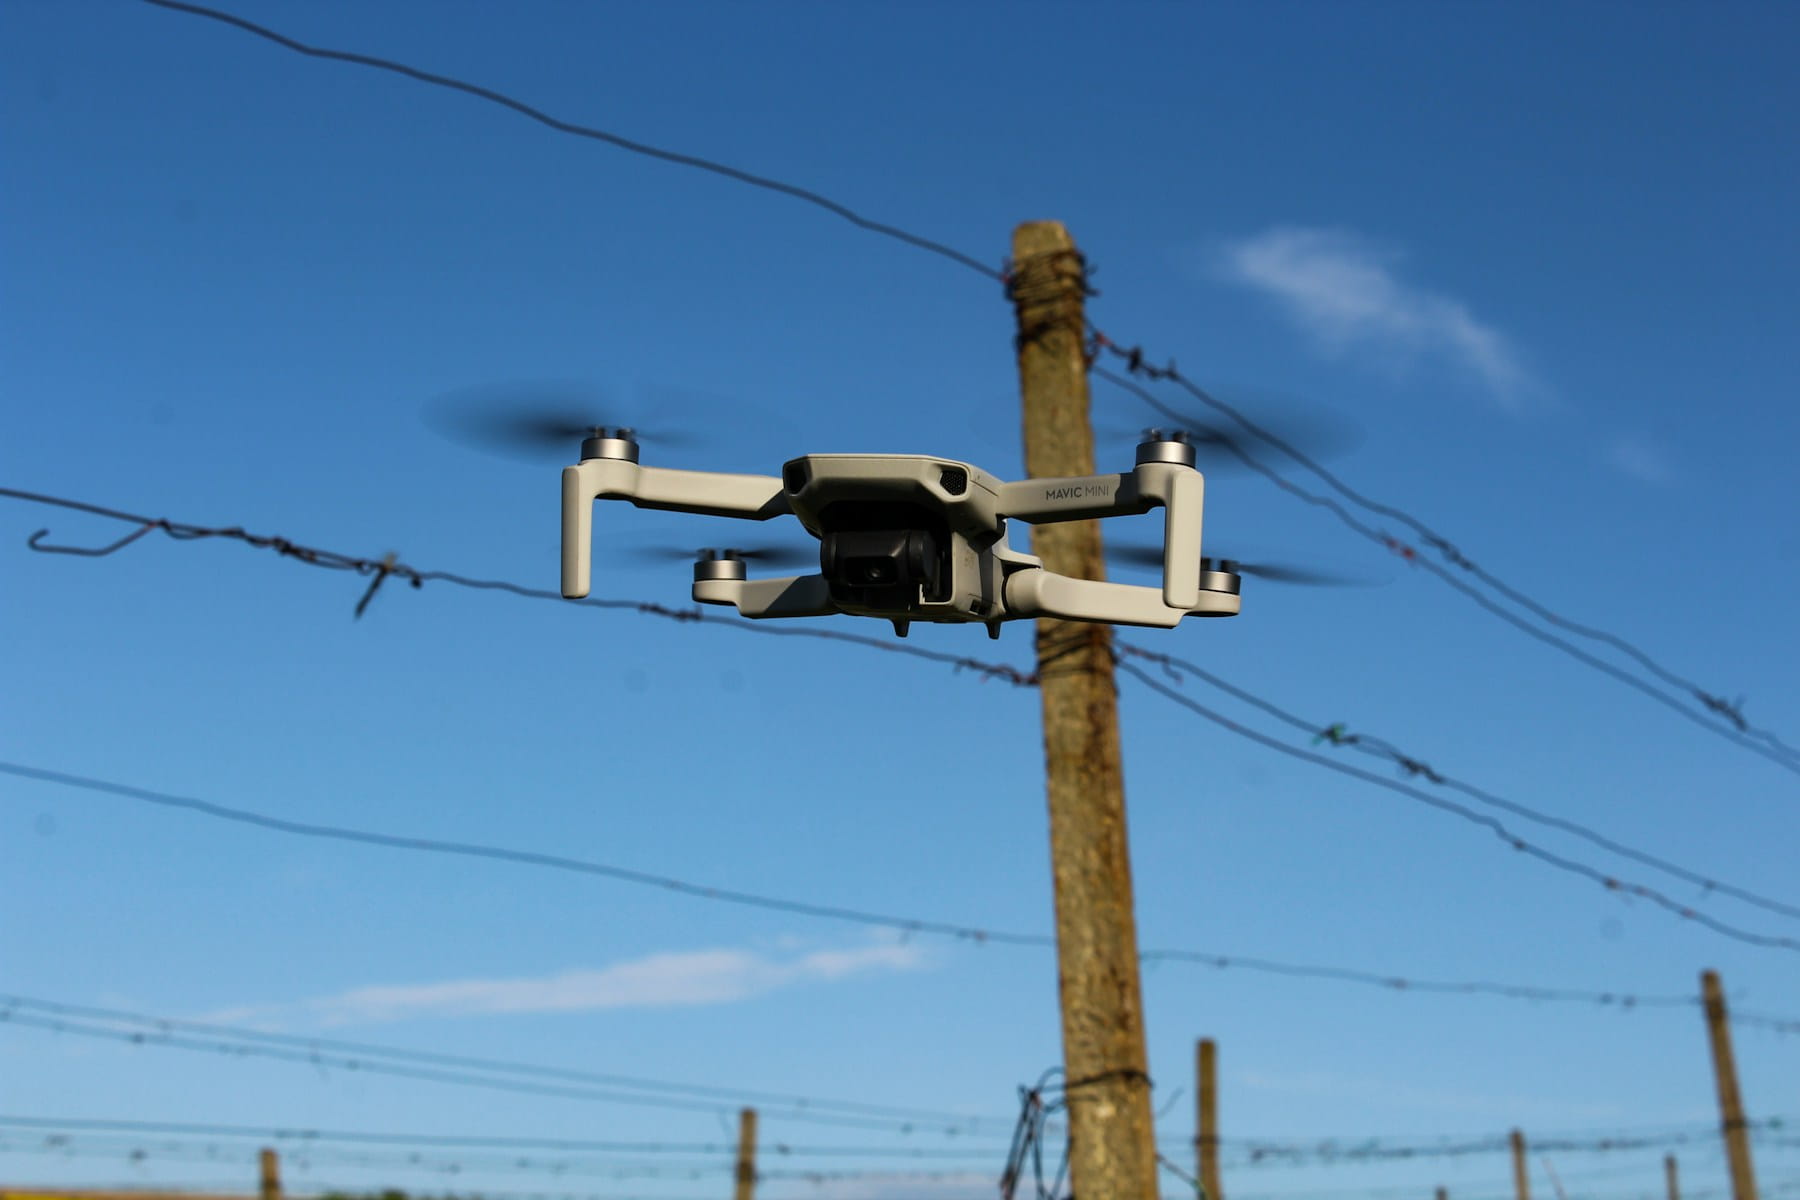
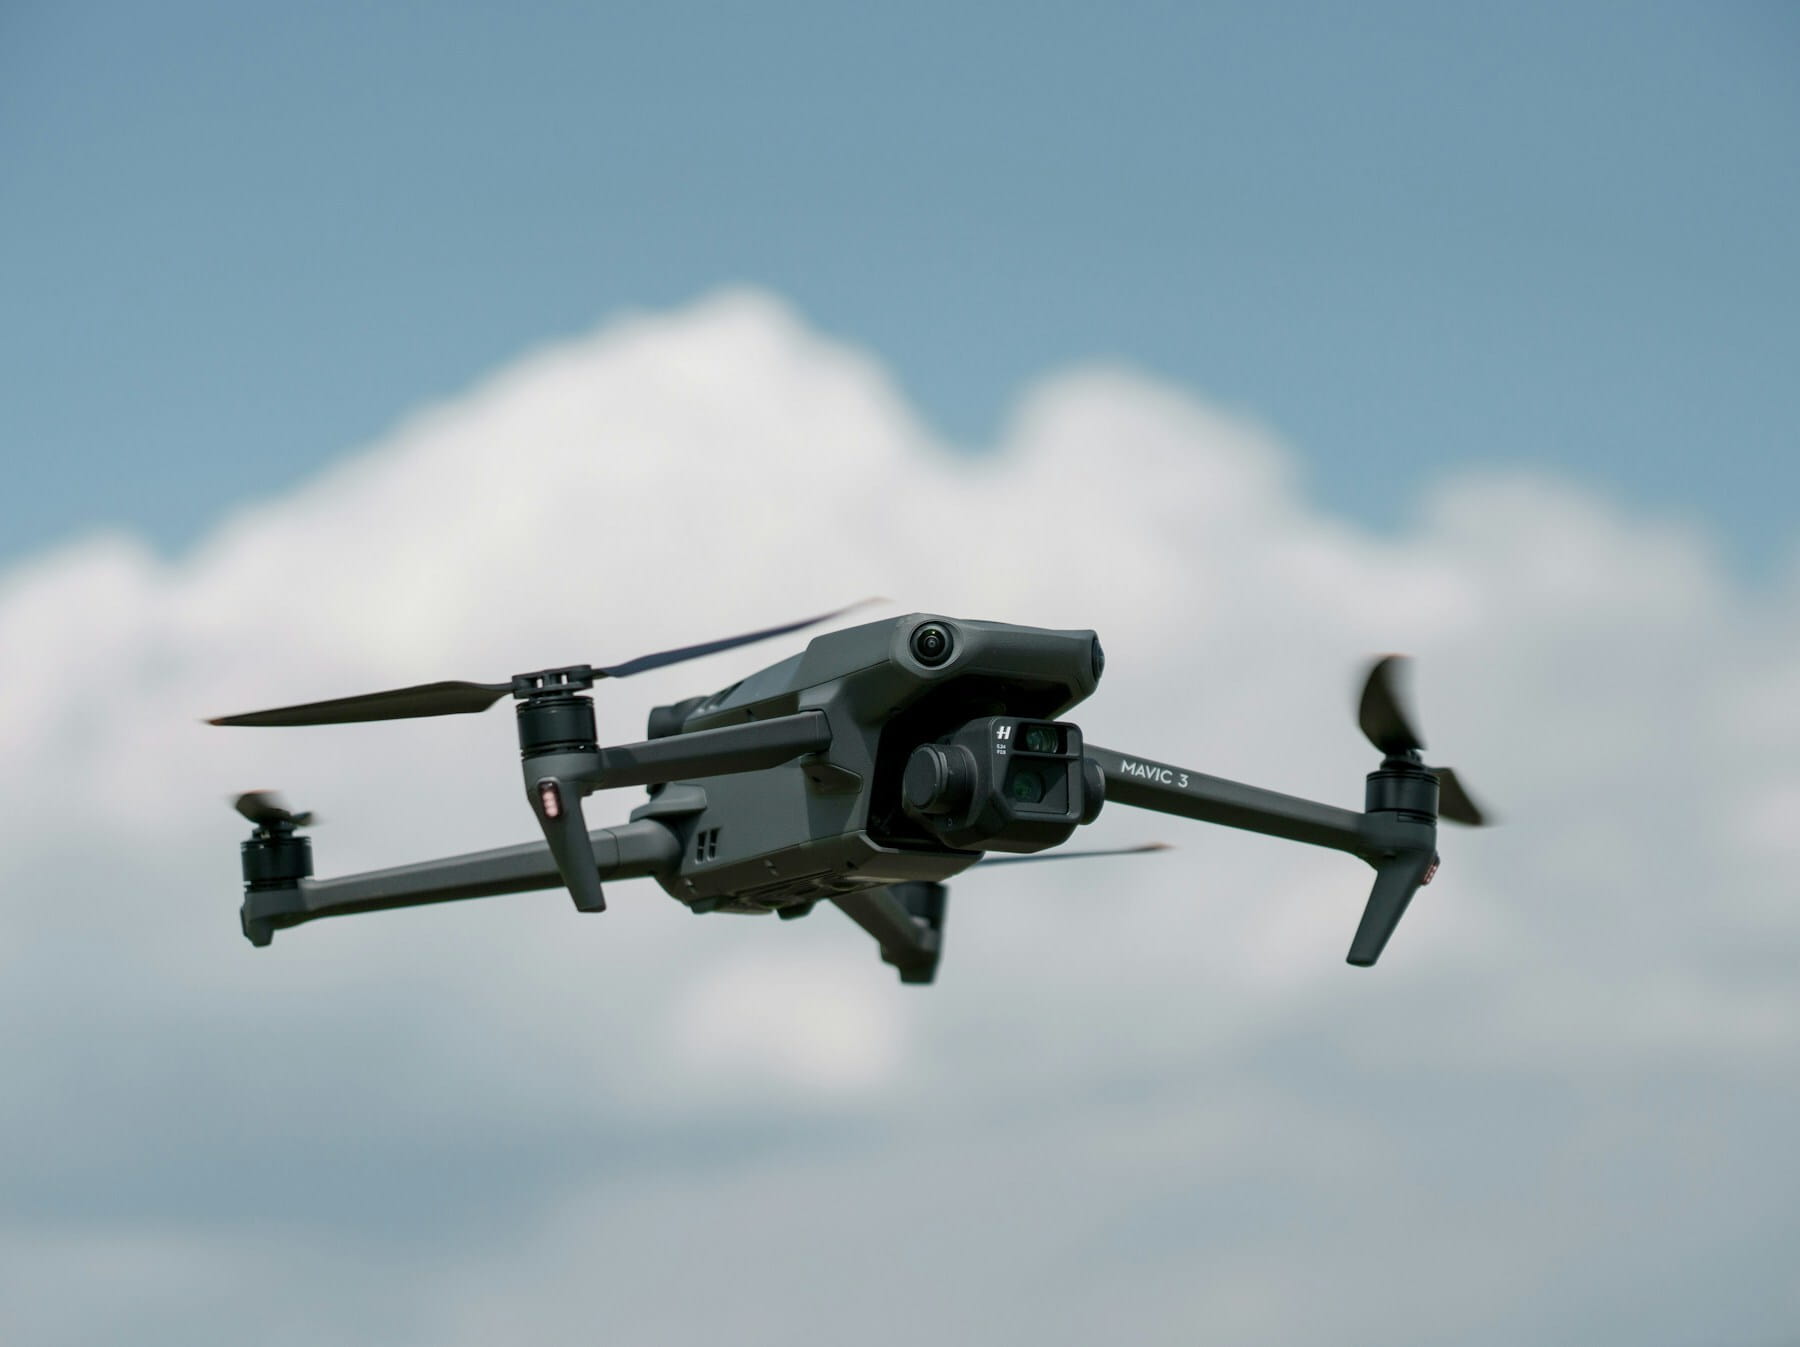
Budget-conscious operators sometimes start with the DJI Mavic 3 Thermal, which offers a 640x512 thermal sensor at a lower price point (around $4,500). The tradeoff is lower thermal resolution and shorter range, which limits throughput on large sites.
Thermal camera specifications
Not all thermal cameras produce inspection-grade data. For IEC 62446-3 compliant inspections, your thermal sensor needs:
- Minimum resolution of 640x512 pixels (320x256 is too low for cell-level detection)
- Thermal sensitivity (NETD) below 50 mK
- Radiometric output (actual temperature values per pixel, not just relative heat maps)
- Minimum 5x5 pixel coverage per cell at your planned flight altitude
Ground control points and RTK
GPS-tagged defect locations are only useful if they are accurate enough to find the specific panel on the ground. Standard drone GPS gives 2 to 5 meter accuracy, which can mean pointing a maintenance crew at the wrong row. RTK correction narrows this to 1 to 2 centimeters, and that precision matters when you are generating work orders for thousands of panels across a large site.
IEC 62446-3 compliance and why it wins contracts
IEC 62446-3:2017 is the international standard governing outdoor infrared thermography of photovoltaic systems. Most competitors mention it in passing. For commercial operators, understanding and advertising IEC compliance is one of the strongest ways to differentiate your service and justify premium pricing.
The standard specifies minimum requirements for every aspect of the inspection: camera resolution (minimum 5x5 pixels per cell), environmental conditions (at least 600 W/m² solar irradiance), flight altitude limits based on geometric resolution (minimum 3 cm/pixel), and data processing procedures. It also requires that inspection personnel hold thermography certifications, typically Level 1 or Level 2 under ISO 9712 or ASNT-SNT-TC-1A standards.
Here is why this matters commercially. Asset owners managing solar portfolios worth millions of dollars need inspection data they can use for warranty claims, insurance reports, and O&M contract enforcement. An inspection report that says "we found some hot spots" has limited value. A report that says "IEC 62446-3 compliant inspection identified 47 Category 3 anomalies requiring immediate intervention, documented at 3 cm/pixel GSD with radiometric accuracy of ±2°C" gives them an actionable, defensible document.
Operators who invest in IEC-compliant workflows, including proper quality assurance procedures, command $300 to $500 per MW versus $150 to $200 for non-compliant basic flyovers. The equipment investment is the same. The difference is process discipline and documentation quality.
| Inspection Level | IEC Compliant | Typical Price/MW | Deliverables |
|---|---|---|---|
| Basic flyover | No | $100 - $200 | RGB orthomosaic, basic thermal overview |
| Standard thermal | Partial | $200 - $350 | Thermal + RGB orthomosaic, defect list |
| Full IEC 62446-3 | Yes | $350 - $500+ | Radiometric maps, classified defect catalog, cell-level analysis, compliance certificate |
Flight planning for solar farm inspections
Effective flight planning for solar inspections is more nuanced than drawing a grid on a map. Panel orientation, sun angle, row spacing, and site obstacles all affect data quality. A solid flight planning workflow saves hours of rework from unusable data.
Grid pattern design
Solar panels are typically installed in uniform rows with consistent tilt angles. Your flight path should run parallel to the rows, not perpendicular, to maintain consistent ground sampling distance (GSD) across all panels. Overlap settings matter: 80% forward overlap and 60% side overlap are standard for generating accurate orthomosaics.
Flight altitude determines your GSD. For IEC-compliant inspections requiring 3 cm/pixel or better, you will typically fly between 15 and 25 meters AGL depending on your camera's focal length and resolution. Lower is better for resolution but means more flight lines and longer mission times. A dedicated flight planner that supports solar-specific grid patterns saves significant setup time.
Accounting for panel tilt
Fixed-tilt systems require you to consider the angle between the drone camera and the panel surface. Shooting at too oblique an angle causes thermal readings to skew because emissivity changes with viewing angle. The ideal approach angle keeps the camera within 30 degrees of perpendicular to the panel surface. For single-axis tracker systems, coordinate your inspection timing with the tracker schedule so panels are in a consistent position.
Pre-flight site assessment
Before the first flight, document the site layout: row count, panel count per row, inverter locations, combiner box positions, and any obstacles like weather stations, fence lines, or vegetation. This information goes into your mission planning software and directly into client deliverables. Spending 30 minutes on a thorough site assessment prevents most of the problems that cause re-flights.
Weather and scheduling constraints
Valid thermal inspection data can only be collected under specific environmental conditions. This is the operational reality that generic inspection guides gloss over, and it directly impacts your scheduling, pricing, and client communication.
Irradiance requirements
IEC 62446-3 requires minimum solar irradiance of 600 W/m² during the inspection. In practical terms, this means clear or mostly clear skies during peak sun hours. A cloud passing over during your flight creates temperature variations that have nothing to do with panel defects, contaminating your data and potentially requiring a re-flight.
The best inspection window is typically 10:00 AM to 2:00 PM local solar time on clear days. Early morning and late afternoon sun angles produce too little irradiance. Panels need to be under significant electrical load for thermal anomalies to appear, so midday conditions are ideal.
Seasonal scheduling
Geography determines your inspection season. In the northern U.S., reliable inspection conditions might only exist from April through October. Southern states offer a longer window but face summer afternoon thunderstorms that cut inspection days short. Planning your operations calendar around these constraints is essential for accurate client commitments.
Winter inspections are possible in some regions but require careful irradiance monitoring. Shorter days and lower sun angles reduce the available inspection window to just a few hours. Snow-covered panels obviously cannot be inspected thermally.
Wind limitations
Most inspection drones can handle winds up to 10 to 12 m/s, but wind affects data quality before it affects flight safety. Wind cools panel surfaces unevenly, reducing the delta-T that makes defects visible. For best results, inspect when sustained winds are below 6 m/s. Real-time weather monitoring during flight operations helps you make go/no-go decisions based on actual conditions rather than forecasts alone.
Running multi-site solar inspection operations
This is where most guides stop, and where the real operational challenges begin. Inspecting a single solar farm is straightforward. Running a business that inspects dozens of sites across a region, with multiple pilots, tight seasonal windows, and demanding asset management clients, requires systematic coordination.
Fleet and crew scheduling
A typical utility-scale solar farm inspection requires 1 to 3 days on-site depending on capacity (measured in MW). When you have 15 sites to inspect during a 6-month window and only 3 qualified pilots, scheduling becomes a complex logistics puzzle. Factor in weather cancellations (expect 20 to 30% of scheduled days to be lost to weather) and the math gets tight.
Fleet management software that tracks pilot availability, equipment status, and site schedules in a single view prevents the double-bookings and forgotten maintenance checks that plague growing operations. Assign pilots to sites based on geography to minimize travel days. Keep backup dates blocked for weather reschedules. A well-configured operations platform tracks all of this in one view.
Equipment rotation and maintenance
Running multiple thermal inspection kits across field teams means tracking which drone and camera are where, their calibration status, and upcoming maintenance needs. Thermal cameras require periodic calibration to maintain radiometric accuracy; an uncalibrated camera produces data that cannot be used for IEC-compliant reports.
Build equipment checks into your maintenance scheduling system. At minimum, verify thermal sensor calibration monthly during active inspection season. Track flight hours per airframe to stay ahead of motor replacements, gimbal service, and firmware updates. A grounded drone at a remote solar farm costs you far more than the repair itself.
Data management pipeline
A single utility-scale inspection can generate 20 to 50 GB of thermal and RGB imagery. Multiply that across dozens of sites and you need a robust data pipeline. Define your workflow before the first inspection: where raw data is backed up in the field, how it transfers to processing workstations, who performs the analysis, and how finished reports reach the client.
Field teams should back up SD cards before leaving each site. Assign unique project identifiers that link field data to your project management system so nothing gets lost in the handoff between field and office. Processing backlogs are the silent killer of solar inspection businesses; clients expect reports within 5 to 10 business days, and missing that window repeatedly will cost you contracts.
Client deliverables and reporting
The report is your product. Asset owners and O&M managers judge your service primarily by the quality, clarity, and usefulness of what you deliver after the inspection. Getting this right is as important as getting the flight right.
Standard deliverable package
A professional solar inspection report should include:
- Executive summary with site overview, inspection date, conditions, and total anomaly count
- Thermal orthomosaic of the entire site with anomalies marked and classified
- Individual anomaly cards with thermal image, RGB image, GPS coordinates, severity classification, and recommended action
- String-level performance map showing relative thermal performance across the array
- Defect database in spreadsheet format (CSV or Excel) for import into the client's asset management system
- Environmental conditions log documenting irradiance, ambient temperature, and wind during the inspection
Generating consistent, professional inspection reports at scale requires templates and standardized workflows. Manual report assembly from scratch for each site does not scale beyond a handful of inspections per month.
Anomaly classification
Use a standardized severity scale. The IEC standard does not prescribe specific categories, so most operators adopt a three or four-tier system:
- Category 1 (Monitor): Delta-T under 10°C, no immediate action required, re-inspect at next scheduled interval
- Category 2 (Investigate): Delta-T 10 to 20°C, further testing recommended within 30 days
- Category 3 (Urgent): Delta-T above 20°C, immediate investigation and repair needed
- Category 4 (Safety): Evidence of arcing, fire damage, or structural failure, immediate shutdown and repair
Delivering through a client portal
Large solar portfolio managers need to access historical inspection data, compare results across years, and share reports with field maintenance teams. Emailing PDF reports works for one-off clients. For recurring contracts, a dedicated client portal where asset owners can log in and view their inspection history, download reports, and track defect resolution is a significant competitive advantage.
Pricing and cost structure
Drone solar panel inspection pricing varies based on site size, inspection level, and regional market conditions. Understanding your true costs and the value you deliver prevents underpricing, which is one of the most common mistakes new operators make.
Per-MW pricing model
Most commercial solar inspections are priced per megawatt of installed capacity. Current market rates:
- Residential systems (5-20 kW): $200 to $500 per inspection
- Commercial rooftop (50-500 kW): $300 to $800 per inspection
- Utility-scale (1-50+ MW): $150 to $500 per MW
The per-MW rate drops as site size increases because mobilization costs (travel, setup, crew time) are spread across more capacity. A 50 MW site at $200/MW generates $10,000 in revenue from 3 to 5 days of field work plus processing time.
Cost structure
Your major cost categories include equipment depreciation (thermal drone systems last roughly 500 to 800 flight hours before major overhaul), pilot labor, travel, data processing labor, software subscriptions, insurance, and overhead. For a detailed breakdown of how to calculate true per-flight costs, see our guide on drone software ROI and fleet management cost analysis.
Operators who track their costs carefully typically find that data processing and report generation consume 40 to 60% of total project time. The flight itself is the easy part. Margins improve significantly with better processing workflows and report automation.
Recurring revenue potential
Solar inspections are inherently recurring. Utility-scale O&M contracts typically require annual or semi-annual inspections. Residential installers need warranty inspections at specific intervals. Building a portfolio of recurring inspection contracts creates predictable revenue that smooths out the seasonal nature of the work. This is one of the strongest recurring revenue models in commercial drone services.
Insurance and liability considerations
Solar inspection introduces liability scenarios that general drone operations do not. Understanding these risks and carrying appropriate coverage protects your business.
Equipment damage risk
Solar panels are expensive, typically $200 to $400 per module for utility-grade panels. A drone crash onto a solar array can damage multiple panels and potentially cause electrical faults that take an entire string offline. Your hull and liability insurance must cover this scenario explicitly. Standard drone insurance policies may have exclusions for operations over high-value property; verify your coverage before accepting solar inspection contracts.
Errors and omissions (E&O)
If your inspection report misses a critical defect that later causes a fire, or if you misclassify a severe anomaly as low-priority, the asset owner may hold you liable for resulting damages. E&O insurance (also called professional liability insurance) covers these claims. For solar inspection work, E&O coverage of $1M to $2M is standard. Some utility-scale clients require $5M or more.
The best protection against E&O claims is rigorous documentation. Record your inspection conditions, verify they meet IEC standards, calibrate your equipment, and maintain complete records. Comprehensive flight logging that captures environmental conditions alongside flight data creates a defensible record of your inspection methodology.
Client contract terms
Structure your inspection contracts to clearly define scope, deliverables, timeline, and limitations. Specify that thermal inspection identifies anomalies visible in infrared at the time of inspection and does not guarantee detection of all defects. Include language about acceptable environmental conditions and your right to reschedule if conditions are unsuitable. A risk assessment for each site should be part of your standard operating procedure.
FAA regulations for solar farm drone flights
Commercial drone solar panel inspection in the United States requires compliance with 14 CFR Part 107, the FAA's rule set for small unmanned aircraft systems. The requirements are straightforward, but solar farms introduce a few operational considerations worth highlighting.
Part 107 basics
Every pilot in command needs a Remote Pilot Certificate with a small UAS rating. The initial knowledge test costs $175 and covers airspace, weather, regulations, and operations. Certificates require renewal every 24 calendar months through a recurrent knowledge test. Your drone must be registered with the FAA ($5, valid for three years) and display its registration number.
Airspace considerations
Many solar farms are located in rural areas within Class G airspace, which requires no ATC authorization for Part 107 operations. However, some solar installations sit near airports or within controlled airspace. Always check airspace classifications during flight planning and obtain LAANC authorization if needed. BVLOS operations, which some large solar farms may require, need a specific waiver from the FAA.
Operations over people and property
Part 107 restricts flights over non-participating people. Solar farms typically have maintenance crews working on-site during inspections. Coordinate with site management to clear the inspection area or maintain required distances from ground personnel. If the site cannot be cleared, you may need to plan your flight paths to avoid occupied areas, which adds complexity to your mission planning.
European operators should reference EASA Specific category regulations for equivalent requirements, which apply to most commercial inspection work.
FAQ
How long does a drone solar panel inspection take?
Flight time averages 10 minutes per MW of installed solar capacity. A 5 MW commercial installation requires roughly 50 minutes of flight time, plus 30 to 60 minutes for setup, calibration, and battery changes. Data processing and report generation add 2 to 5 business days depending on the level of analysis required. Total project turnaround for a utility-scale site is typically 5 to 10 business days from inspection to final report delivery.
How much does drone solar panel inspection cost?
Residential inspections (under 20 kW) typically cost $200 to $500 per visit. Commercial and utility-scale inspections range from $150 to $500 per MW, with IEC 62446-3 compliant inspections at the higher end. Equipment investment for a professional thermal inspection setup starts around $15,000 for the drone, thermal camera, and processing software.
Can drones detect all solar panel defects?
Thermal drone inspections detect the majority of performance-affecting defects, including hotspots, PID, string failures, diode faults, and connection issues. However, some defects are only detectable through electroluminescence (EL) imaging, which requires specialized ground-based equipment. Micro-cracks that have not yet developed into thermal anomalies may also be missed. A thorough inspection program combines drone thermal surveys with periodic ground-based EL testing for complete coverage.
What certifications do I need for solar panel drone inspections?
At minimum, you need an FAA Part 107 Remote Pilot Certificate for U.S. operations. For IEC-compliant work, thermography certification (Level 1 or Level 2 under ASNT-SNT-TC-1A or ISO 9712) is strongly recommended and increasingly required by asset owners. Some clients also require OSHA 10 or OSHA 30 safety certification for site access. Track all pilot certifications centrally to ensure compliance across your team.
Ready to scale your solar inspection operations?
Managing multi-site solar inspections means coordinating pilots, thermal equipment, weather windows, and client deliverables across a tight seasonal schedule. DroneBundle gives you fleet tracking, mission planning, equipment management, and client reporting in a single platform built for commercial inspection teams.
Start your free trial today and see how operators in the utilities and energy sector manage their solar inspection programs.
Or try the live demo to explore mission planning, fleet scheduling, and the client portal.