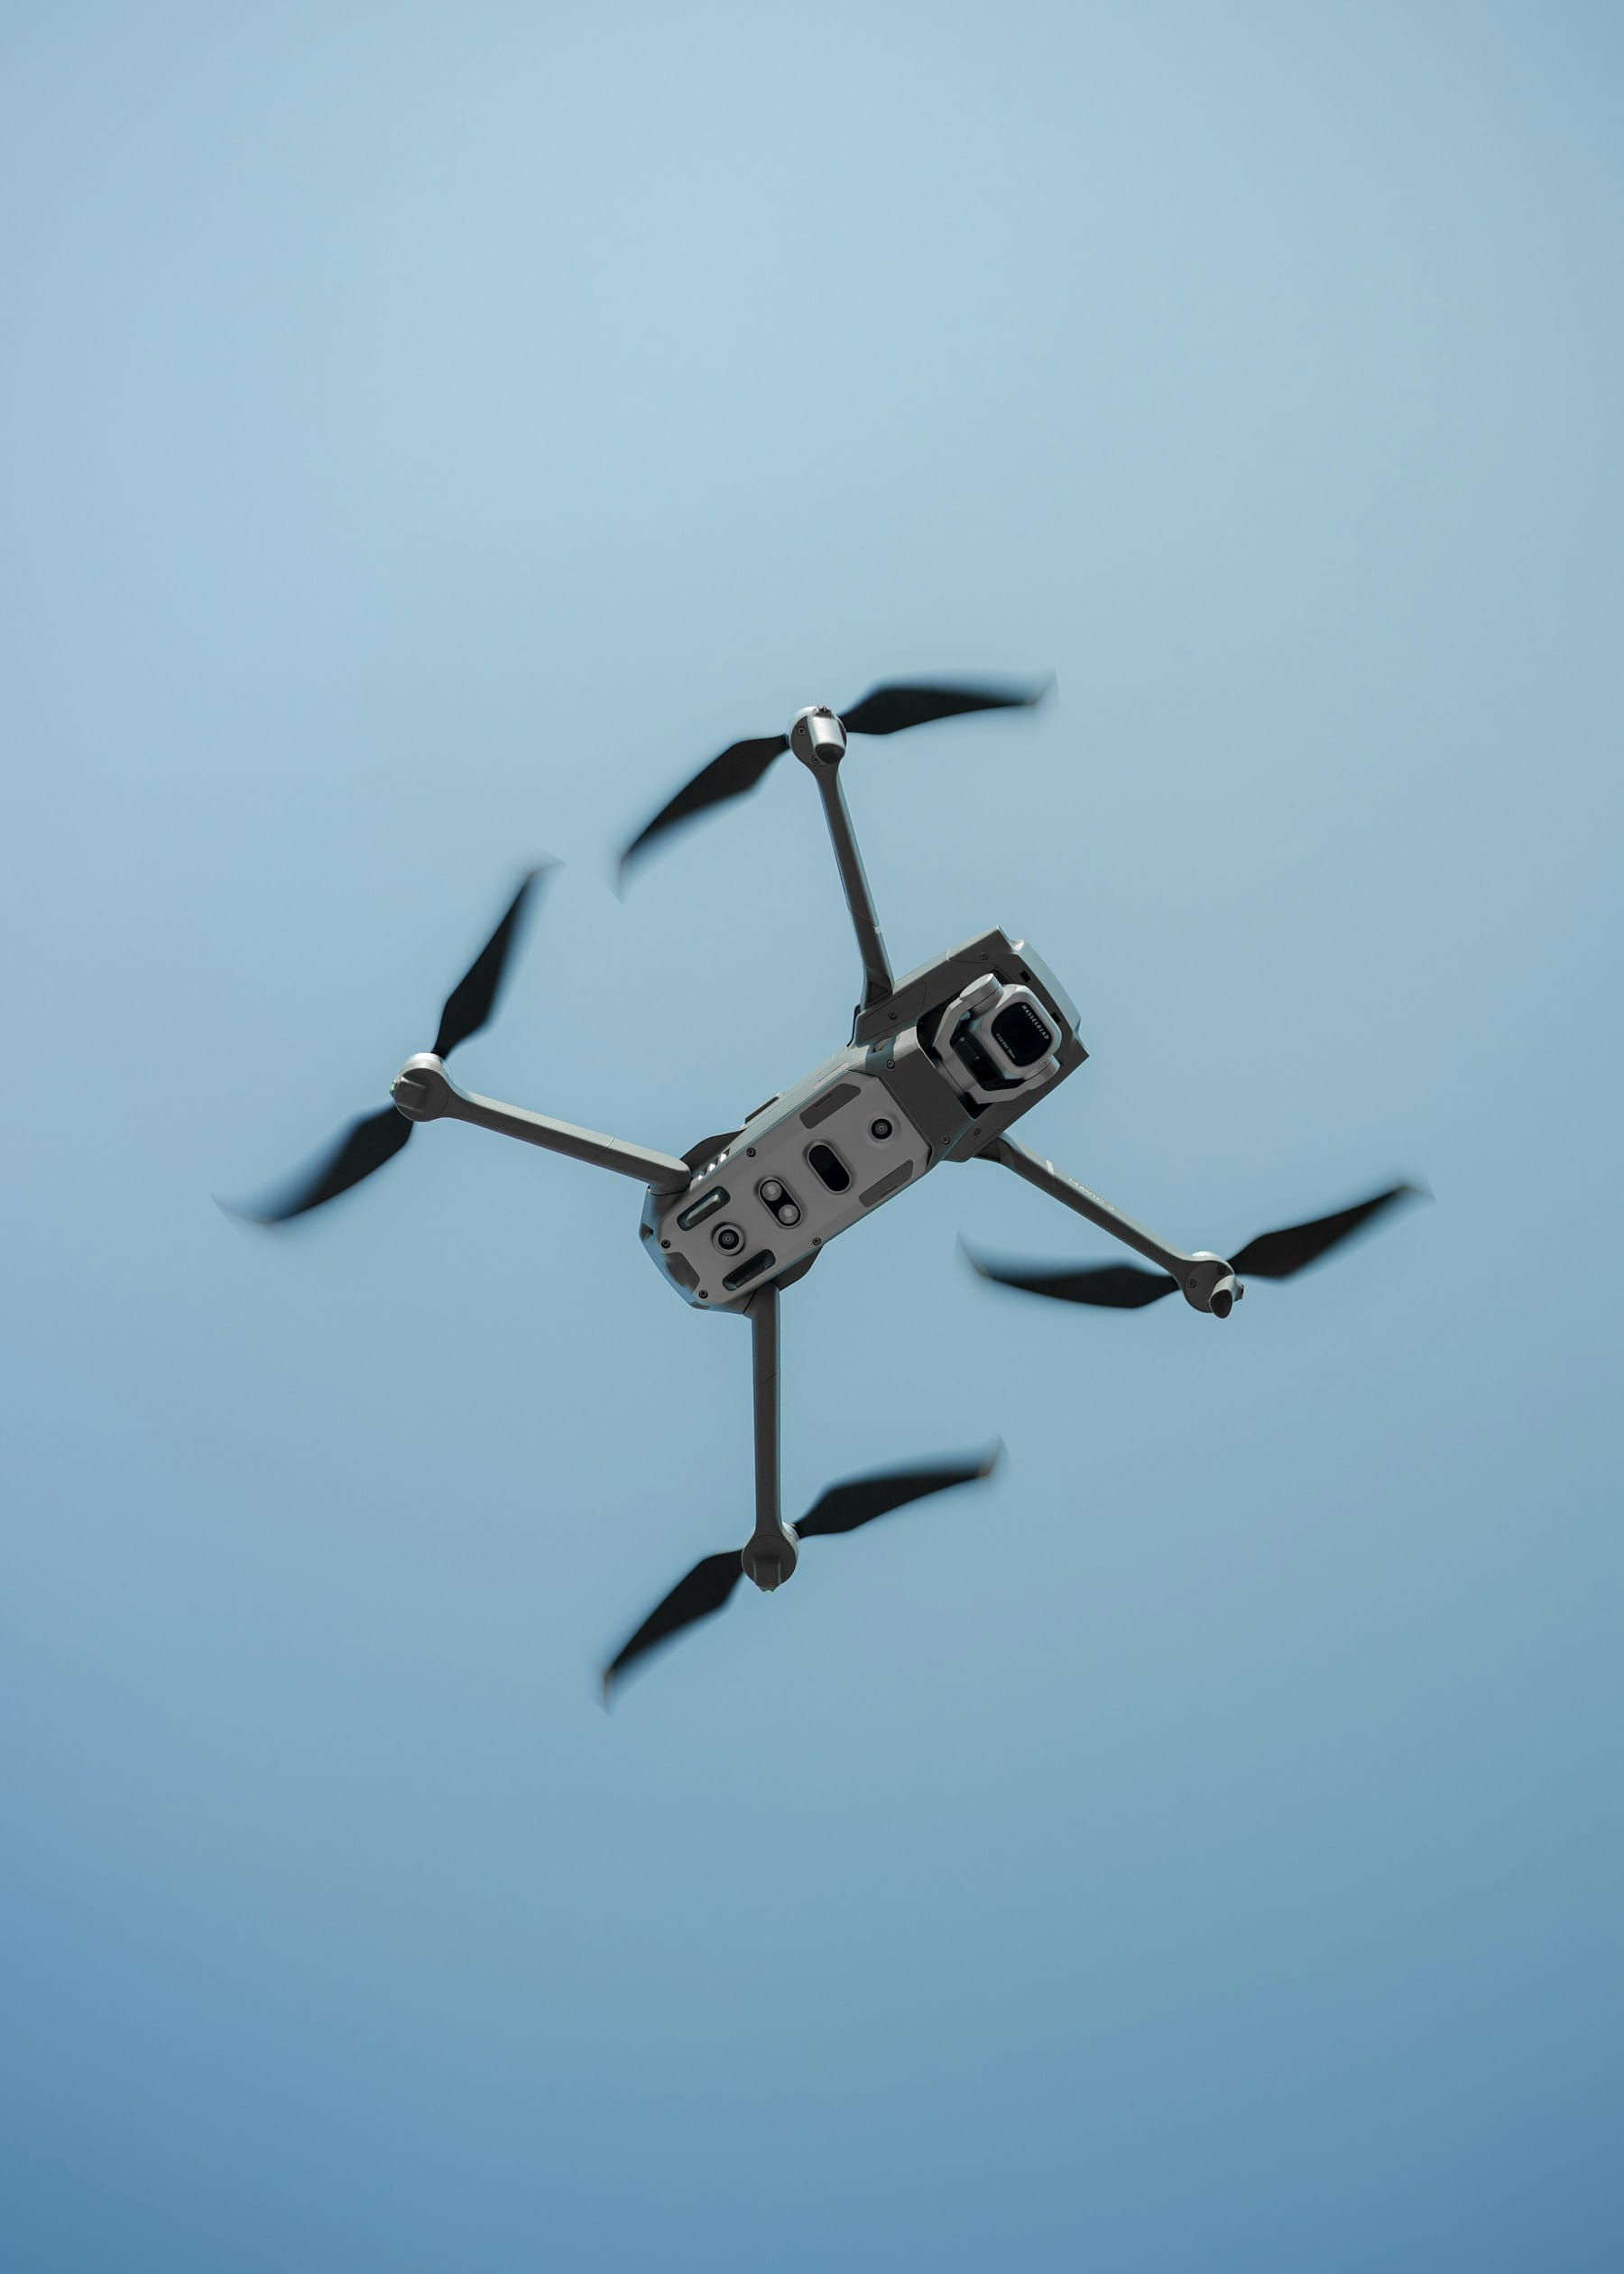
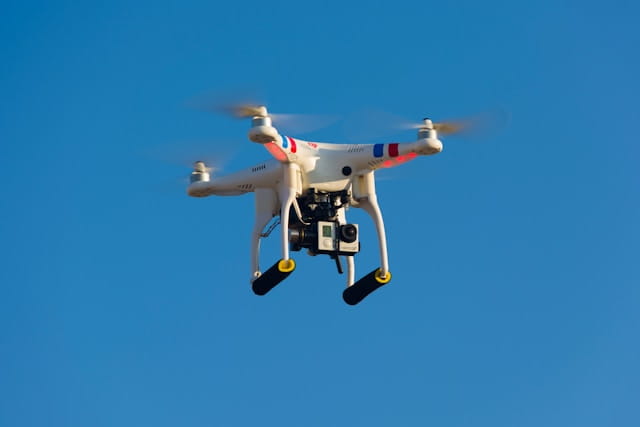
What is Drone Videography?
Drone videography is the art and technique of capturing video footage from unmanned aerial vehicles (UAVs). Professional drone videography combines proper camera settings, deliberate flight movements, and cinematic composition to create compelling aerial footage for film, real estate, events, commercial productions, and creative projects.
Drone videography has transformed visual storytelling by providing perspectives previously impossible without helicopters or expensive equipment. Modern consumer and prosumer drones now deliver cinematic quality that rivals professional cinema cameras, making aerial footage accessible to independent filmmakers, content creators, and commercial videographers.
The difference between amateur drone footage and professional aerial cinematography lies not in equipment specifications but in understanding fundamental techniques. Camera settings, flight movements, lighting conditions, and post-production workflows combine to create footage that engages viewers and serves storytelling objectives.
Table of contents
- Essential camera settings for drone videography
- The 180-degree shutter rule explained
- Cinematic flight movements
- Lighting and timing considerations
- Best drones for videography in 2026
- Flight techniques for smooth footage
- Post-production and color grading
- Frequently asked questions
- Implementation considerations
- In summary
Essential camera settings for drone videography
Professional drone videography requires manual camera control. Auto settings constantly adjust during flight, causing unwanted exposure shifts and inconsistent footage that looks amateurish.
Resolution and frame rate
Capture in 4K resolution minimum for professional work. Higher resolution provides flexibility for cropping, stabilization, and downscaling to 1080p output while maintaining sharpness. If your drone supports 10-bit color depth, enable it to preserve more detail in shadows and highlights for color grading.
Frame rate selection depends on creative intent:
| Frame Rate | Best Use | Character |
|---|---|---|
| 24fps | Cinematic work, narrative | Traditional film look |
| 30fps | General content, real estate | Smooth, modern feel |
| 60fps | Action, sports, slow-motion source | Very smooth motion |
| 120fps | Dramatic slow-motion | Half or quarter speed playback |
For most drone videography projects, 24fps delivers the classic cinematic aesthetic that audiences associate with professional productions. However, aerial footage involves constant camera motion that can appear jerky at 24fps. Many professionals shoot 30fps for smoother results while maintaining a polished appearance.
ISO management
Keep ISO as low as possible, ideally between 100-200 for daylight shooting. Lower ISO values reduce noise and maintain maximum dynamic range. Modern drones handle ISO 400 adequately, but quality degrades noticeably above 800.
Daytime shooting rarely requires high ISO values when using proper ND filters. Low-light situations demand careful balance between acceptable noise levels and adequate exposure. Review your specific drone's ISO performance through test footage before critical shoots.
White balance
Never use auto white balance during video recording. Automatic adjustment causes color shifts as the drone moves between areas of different lighting, creating inconsistent footage that requires extensive correction.
Set white balance manually based on lighting conditions:
- Tungsten/3200K: Warm sunrise and sunset
- Daylight/5600K: Standard midday sun
- Cloudy/6500K: Overcast conditions
- Custom Kelvin: Match specific lighting scenarios
Consistent white balance throughout a shoot simplifies post-production and ensures footage from different takes cuts together seamlessly.
The 180-degree shutter rule explained
The 180-degree shutter rule forms the foundation of cinematic motion blur. Originating from film cameras with rotating shutters, this guideline states that shutter speed should approximately double your frame rate.
How it works
For 24fps footage, use 1/50 second shutter speed. For 30fps, use 1/60 second. This relationship creates natural motion blur that matches how human vision perceives movement, resulting in footage that feels smooth and organic.
Faster shutter speeds eliminate motion blur, creating sharp but stuttery-looking footage often described as having a "digital" or "video game" appearance. While occasionally useful for specific effects, it typically looks unprofessional for most videography applications.
ND filters for proper exposure
Bright conditions often force faster shutter speeds to avoid overexposure, violating the 180-degree rule. Neutral density (ND) filters solve this problem by reducing light entering the lens without affecting color.
Essential ND filter strengths for drone videography:
| Filter | Light Reduction | Typical Conditions |
|---|---|---|
| ND4 | 2 stops | Light overcast |
| ND8 | 3 stops | Partial clouds |
| ND16 | 4 stops | Bright sun |
| ND32 | 5 stops | Intense midday sun |
| ND64 | 6 stops | Snow, beach, desert |
Carry a complete ND filter set during shoots. Conditions change throughout the day, and proper exposure control is non-negotiable for professional results. Include ND filters in your pre-flight checklist alongside batteries and memory cards.
Cinematic flight movements
Deliberate flight movements distinguish professional drone videography from amateur flying. Each movement serves a storytelling purpose, guiding viewer attention and creating emotional impact.
Push-in shot
Fly forward toward your subject, gradually revealing detail as you approach. Push-ins work excellently for establishing shots that draw viewers into a scene or for building dramatic tension toward a reveal.
Start distant with a wide composition showing context, then smoothly advance until your subject fills the frame. Vary altitude during the push to add visual interest and avoid simple straight-line motion.
Pull-out shot
The reverse of a push-in starts close to your subject and pulls away to reveal environmental context. Pull-outs effectively conclude sequences, creating a sense of completion or showing the subject's relationship to surroundings.
Combine backward movement with ascending altitude to dramatically expand the visible area. This movement frequently appears in documentary endings and real estate videos transitioning from property detail to neighborhood overview.
Orbit shot
Circle around a subject while keeping it centered in frame. Orbiting creates parallax between your subject and background, adding three-dimensional depth that flat compositions lack.
Successful orbits require smooth, consistent speed and careful attention to maintaining subject framing throughout the rotation. Practice at slower speeds before attempting faster orbits. Many drones offer automated orbit modes that handle the technical execution while you focus on timing and duration.
Reveal shot
Begin with the camera pointed at an obstruction like a treeline, building, or hillside, then fly forward or rise to reveal a dramatic landscape beyond. Reveals create surprise and emotional impact by withholding information before the payoff.
Effective reveals require flight planning to identify appropriate obstacles and ensure the revealed scene justifies the buildup. Scout locations before filming to find compositions where reveals work naturally.
Tracking shot
Follow a moving subject while maintaining consistent distance and framing. Tracking works for vehicles, athletes, boats, or any subject in motion. The movement creates dynamic energy while keeping focus on the subject.
Tracking requires anticipating subject movement and adjusting flight path accordingly. Active Track features on modern drones simplify tracking but still require operator supervision, especially near obstacles.
Lighting and timing considerations
Professional drone videographers obsess over lighting because it dramatically affects footage quality regardless of equipment specifications.
Golden hour
The period shortly after sunrise and before sunset produces warm, directional light that cinematographers prize. Long shadows add depth and dimension while golden tones create emotional warmth that flat midday light cannot match.
Schedule important shoots during golden hour whenever possible. Check weather conditions carefully since clouds, humidity, and atmospheric conditions affect golden hour quality significantly.
Blue hour
The period of twilight immediately before sunrise or after sunset creates cool, atmospheric conditions ideal for moody or dramatic footage. City lights begin appearing while natural light remains, creating unique opportunities for urban videography.
Blue hour windows are brief, typically 20-30 minutes. Prepare thoroughly and work quickly to capture usable footage before light fades completely.
Midday challenges
Harsh overhead sun creates unflattering shadows and blown-out highlights that challenge even skilled colorists. When midday shooting is unavoidable, seek locations where shadows enhance rather than detract from compositions.
Overcast days actually improve many drone videography situations by providing soft, even illumination without harsh shadows. Cloud cover acts as a giant diffuser, creating lighting that flatters landscapes and structures alike.
Weather awareness
Wind affects both flight stability and footage smoothness. Stronger winds require increased stick inputs to maintain position, potentially introducing unwanted movement into shots. Most drones specify maximum wind speeds, but practical videography limits are often lower.
Monitor forecasts and choose shooting windows when conditions favor stable flight. Airspace awareness and weather monitoring should inform every shoot plan.
Best drones for videography in 2026
Selecting appropriate equipment depends on project requirements, budget constraints, and operational context. Current options range from compact travel drones to cinema-grade platforms.
Professional cinema: DJI Inspire 3
The Inspire 3 represents the pinnacle of consumer-accessible drone cinematography. Its full-frame sensor captures 8K video with over 14 stops of dynamic range, meeting Netflix certification requirements for original content.
Key features include:
- 8K/75fps, 4K/120fps recording
- Interchangeable lens system
- Dual-operator control capability
- ProRes RAW internal recording
- Pricing: approximately $16,000-25,000
The Inspire 3 suits productions where aerial footage quality must match dedicated cinema cameras. Feature films, commercials, and high-end construction documentation projects justify the investment.
Prosumer standard: DJI Mavic 4 Pro
The Mavic 4 Pro offers professional capabilities in a portable package. Its 4/3" sensor and Hasselblad color science deliver outstanding image quality at a fraction of Inspire pricing.
Key features include:
- 6K/60fps, 4K/120fps recording
- 100MP still photography
- 360-degree rotating gimbal
- 51-minute flight time
- Pricing: approximately $2,500-3,500
Most professional drone videographers consider Mavic-class drones their primary working tools, reserving larger platforms for specific productions requiring maximum quality.
Capable compact: DJI Air 3S
The Air 3S balances quality and portability for videographers prioritizing mobility. Dual cameras covering wide and telephoto perspectives provide creative flexibility in a travel-friendly package.
Key features include:
- 4K/60fps HDR, 4K/120fps slow motion
- 1" CMOS sensor
- 45-minute flight time
- Omnidirectional obstacle sensing
- Pricing: approximately $1,200-1,600
Event videographers, travel content creators, and agricultural documentation specialists often prefer Air-class drones for their reduced size and weight while maintaining professional output quality.
Budget entry: DJI Mini 4 Pro
Weighing under 249 grams, the Mini 4 Pro avoids many regulatory requirements while delivering surprisingly capable footage. It represents an excellent entry point for videographers building aerial skills.
Note that US drone regulations and potential DJI restrictions may affect availability and usage. Consider alternatives if regulatory uncertainty concerns your operation.
Flight techniques for smooth footage
Technical skill in flying determines footage quality more than equipment specifications. Smooth, deliberate movements require practice and specific techniques.
Slow everything down
The single most impactful technique for better drone videography is slowing down. Reduce flight speed to 5-10 mph maximum for cinematic work. Fast movement looks dramatic but creates footage that feels rushed and amateur.
Enable your drone's cinematic or tripod mode to limit maximum speeds and soften acceleration curves. These modes force smoother flying by preventing abrupt inputs from translating into jerky movements.
Reduce controller sensitivity
Most drones allow adjusting control sensitivity and response curves. Lower settings require larger stick movements for the same flight response, filtering out small unintentional inputs that cause micro-movements in footage.
Experiment with gimbal smoothness settings as well. Higher smoothness values slow gimbal response, eliminating vibration and creating fluid camera movements. Settings around 20-25% smoothness work well for most situations.
Plan movements before execution
Visualize complete movements before touching the sticks. Know exactly where the shot starts, the path you will fly, and where it ends. Hesitation mid-shot creates awkward footage that rarely survives editing.
Walk through movements mentally several times. For complex sequences, practice the flight path first without recording, then execute for real once comfortable with the movement.
Maintain visual line of sight
Visual line of sight requirements serve safety purposes but also improve videography. Keeping the drone visible helps you understand its position, orientation, and surroundings for better creative decisions.
Consider having a visual observer assist during complex shoots, allowing you to focus on the monitor while they track the aircraft position and warn of potential hazards. This approach mirrors professional practices in surveying and inspection operations.
Post-production and color grading
Raw drone footage requires post-production work to achieve professional results. Understanding color workflows unlocks your footage's full potential.
Shooting in log profiles
Log color profiles like D-Log or D-Cinelike capture maximum dynamic range by recording flat, desaturated footage. This approach preserves highlight and shadow detail for adjustment during color grading.
Log footage looks terrible straight from the camera but transforms dramatically with proper grading. If you lack color grading experience, consider standard color profiles until developing post-production skills.
Basic color correction
Color correction establishes proper exposure, white balance, and contrast before creative grading. Correct any technical issues first: adjust exposure for proper brightness, set white balance for accurate colors, and establish appropriate contrast.
Use scopes rather than visual judgment alone. Waveforms, vectorscopes, and histograms provide objective measurements that prevent over-correction on uncalibrated monitors.
Creative grading
After correction, creative grading establishes the visual style matching your project's mood and tone. LUTs (Look-Up Tables) provide starting points for specific looks but typically require adjustment for each shot.
Maintain consistency across footage from different times and conditions. Matching shots taken at different moments creates seamless sequences that feel cohesive rather than assembled from random clips.
Stabilization
Even with gimbal stabilization, minor vibrations and movements sometimes affect footage. Post-production stabilization can smooth remaining issues but requires planning.
Shoot slightly wider than your final framing to provide room for stabilization cropping. Software stabilization works by analyzing footage and cropping to maintain stable framing, so tight original framing leaves no room for correction.
Frequently asked questions
What drone settings should I use for cinematic video?
Set resolution to 4K, frame rate to 24fps or 30fps, manual white balance appropriate for your lighting, and ISO as low as possible (100-200). Use ND filters to maintain shutter speed at double your frame rate per the 180-degree rule. Enable any flat color profile like D-Log if you plan to color grade, or use standard profiles if you need footage quickly. Include proper equipment checks before every shoot.
Do I need a license for drone videography?
Commercial drone videography in the United States requires FAA Part 107 certification. This applies whether you charge clients directly or use footage in monetized content. Recreational videography for personal use only may operate under different rules. International requirements vary significantly by country and require verification before flying.
How do I get smooth drone footage?
Fly slowly at 5-10 mph maximum and enable cinematic or tripod flight modes. Reduce controller sensitivity settings to filter small inputs. Plan each movement completely before execution and practice flight paths before recording. Use ND filters to maintain proper shutter speeds for natural motion blur. Consider professional flight training to develop advanced skills.
What is the best time of day for drone videography?
Golden hour provides the most flattering natural light for most subjects. This occurs approximately 30-60 minutes after sunrise and before sunset. Blue hour immediately before sunrise or after sunset creates moody atmospheric conditions. Overcast midday actually works well by providing soft, even illumination. Avoid harsh direct sun at noon when possible.
Implementation considerations
Developing drone videography skills requires structured practice and intentional improvement rather than simply accumulating flight hours.
Start by mastering individual movements before combining them into complex sequences. Spend dedicated practice sessions on push-ins only, then orbits only, building competence in each technique before attempting combinations. Document your progress through regular flight logging to track improvement over time.
Study professional aerial cinematography in films, documentaries, and commercials. Analyze how movements serve storytelling purposes rather than simply showcasing technology. Notice timing, subject relationships, and how aerial shots integrate with ground footage.
Build a shot library of reusable movements for common situations. Real estate reveals, establishing shots, and transition sequences appear frequently across projects. Reliable execution of standard shots frees creative energy for unique opportunities each project presents.
Consider the business aspects if pursuing commercial work. Starting a drone business requires more than flying skills. Client management, insurance requirements, and operational compliance demand attention alongside creative development. Access to professional features streamlines these business operations.
In summary
Drone videography combines technical camera knowledge with flight skill and cinematic understanding. Professional results come from mastering fundamentals rather than purchasing expensive equipment. Proper camera settings, deliberate movements, optimal lighting, and thoughtful post-production transform aerial footage from interesting curiosity to compelling visual storytelling.
The 180-degree shutter rule, ND filter usage, and manual camera control form the technical foundation. Slow, intentional flight movements and planned shot execution distinguish professional work from amateur experimentation. Understanding lighting and timing maximizes every shooting opportunity.
Modern drones provide remarkable capability at accessible price points. A skilled operator with a mid-range drone consistently produces better footage than a novice with cinema-grade equipment. Invest in skill development alongside equipment purchases for optimal results.
Ready to elevate your aerial videography?
Professional drone videography requires careful planning, proper equipment management, and systematic skill development. Whether capturing commercial content or building a creative portfolio, organized workflows ensure consistent results across every project.
Start your free trial today - no credit card required.
Or book a demo to see how DroneBundle helps manage video production operations with integrated flight planning and maintenance tracking.